Essential Bathroom Tile Repair and Maintenance Tips
The bathroom is a vital space in any home, and its maintenance is crucial for both functionality and aesthetic appeal. Tiles play a significant role in the bathroom's overall look and utility. They not only provide a sleek and clean finish but also protect the underlying structures from water damage. However, over time, tiles can become chipped, cracked, or discolored, necessitating repair and maintenance. Understanding how to properly care for and repair bathroom tiles can extend their lifespan and maintain their pristine condition. This article explores essential tips for the repair and maintenance of bathroom tiles, ensuring your bathroom remains an inviting and durable space.
Identifying Common Tile Problems
Before embarking on any repair or maintenance tasks, it's crucial to identify the common issues that tiles might face. Recognizing these problems early can prevent more extensive damage and costly repairs.
- Cracked Tiles: Often caused by heavy impact or underlying structural shifts. Addressing these promptly can prevent water from seeping underneath.
- Loose Tiles: Typically a result of adhesive failure or water ingress. Loose tiles can lead to more severe issues if not fixed.
- Discoloration and Stains: Usually due to mold growth or mineral deposits. Regular cleaning can help manage this problem.
- Grout Deterioration: Grout can crack or crumble over time, compromising the tiles' stability.
Learn more in this detailed guide about identifying and managing common tile issues.
Repair Techniques for Bathroom Tiles
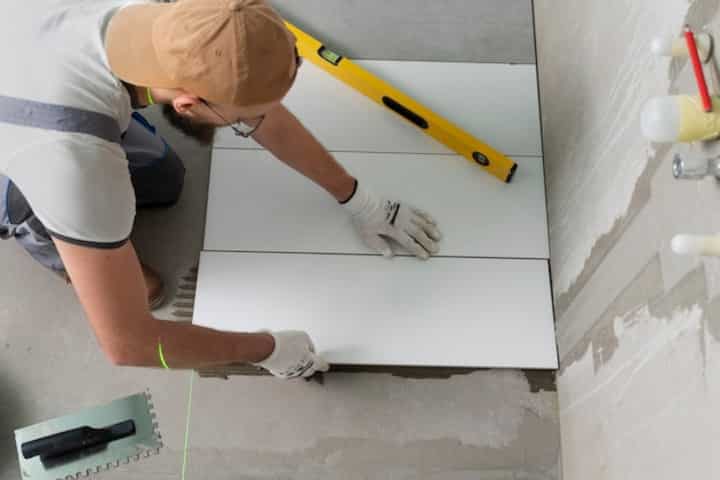
Replacing Cracked or Broken Tiles
Replacing damaged tiles is often the best solution to prevent further complications. Follow these steps to replace a broken tile:
- Carefully remove the grout around the damaged tile using a grout saw or rotary tool.
- Use a chisel and hammer to gently break up the tile and remove the pieces.
- Clean the area and remove old adhesive to prepare for the new tile.
- Apply fresh adhesive and set the new tile in place, ensuring it is level with surrounding tiles.
- Once the adhesive is dry, apply grout around the tile, wiping away excess with a damp sponge.
Read more about this topic to ensure correct tile replacement techniques.
Reattaching Loose Tiles
Loose tiles can be reattached using the following simple steps:
- Remove the loose tile carefully and clean out the old adhesive from the back of the tile and the wall or floor.
- Apply new adhesive to the back of the tile and press it firmly into place.
- Once the adhesive has set, apply grout around the tile to secure it.
Explore further insights here on handling loose tiles effectively.
Maintenance Tips for Bathroom Tiles
Regular maintenance can prolong the lifespan of your tiles and keep them looking new. Here are some essential maintenance tips:
- Regular Cleaning: Utilize non-abrasive cleaners and a soft brush to remove grime and prevent stains.
- Seal Grout Lines: Apply grout sealer every six months to prevent moisture penetration and mold growth.
- Address Mold Immediately: Use a mixture of water and vinegar or a commercial mold remover to clean affected areas.
- Inspect Tiles Periodically: Regularly check for any signs of damage or wear and address them promptly.
Find additional information here for more comprehensive tile maintenance strategies.
In conclusion, maintaining bathroom tiles involves a combination of timely repairs and regular cleaning. By addressing issues promptly and following a consistent maintenance routine, you can ensure your bathroom tiles remain both functional and visually appealing for years to come. For more guidance, explore this comprehensive resource.